Step 1: Create a campaign
Use this campaign to showcase product add-ons on your product page. You can display them in a grid-style layout.
To get started:
-
Click “Products add-ons (Grid)” option.
-
Then click on Create campaign button.

- Provide a campaign name. This will not be visible on the storefront.

Step 2: Trigger product types
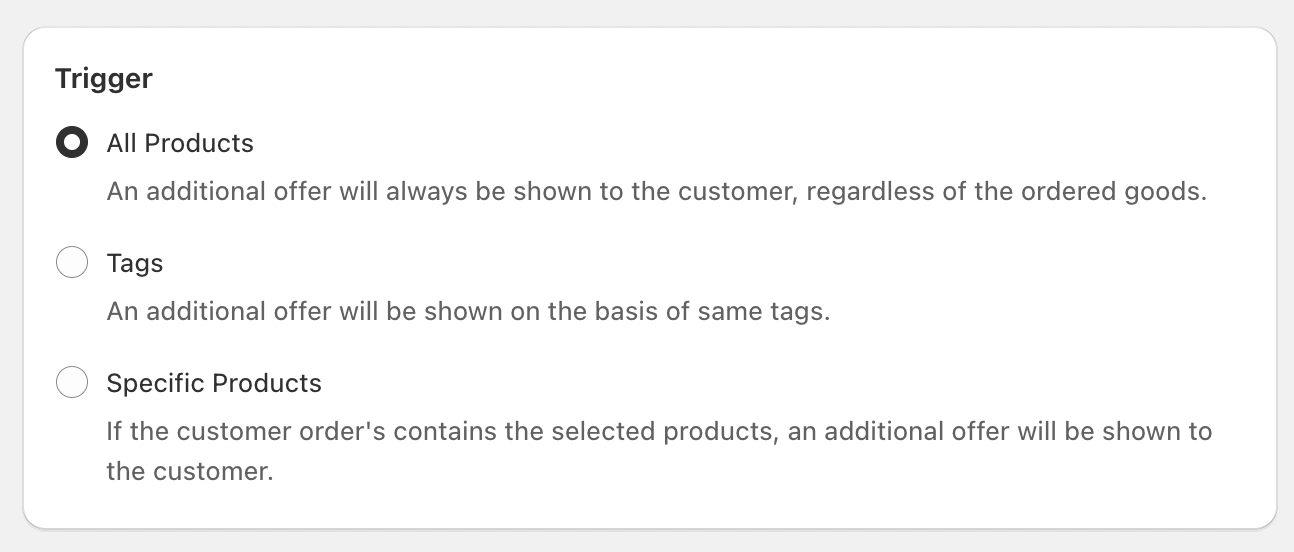
Choose a trigger type for which you want to set the campaign. Trigger defines on which product page the campaign has to be shown.
- All products - The campaign will be shown in all product pages.
- Specific products - Choose specific products where the campaign should be seen.
- Specific tags - Add product tags and the campaign will be seen on all product pages which have that tag.
Step 3: Offer products
Select the specific products you want to display in the campaign.

Step 4: Other optional settings
- Provide a campaign title and subtitle for custom text. Otherwise, default text from the widget settings will apply.
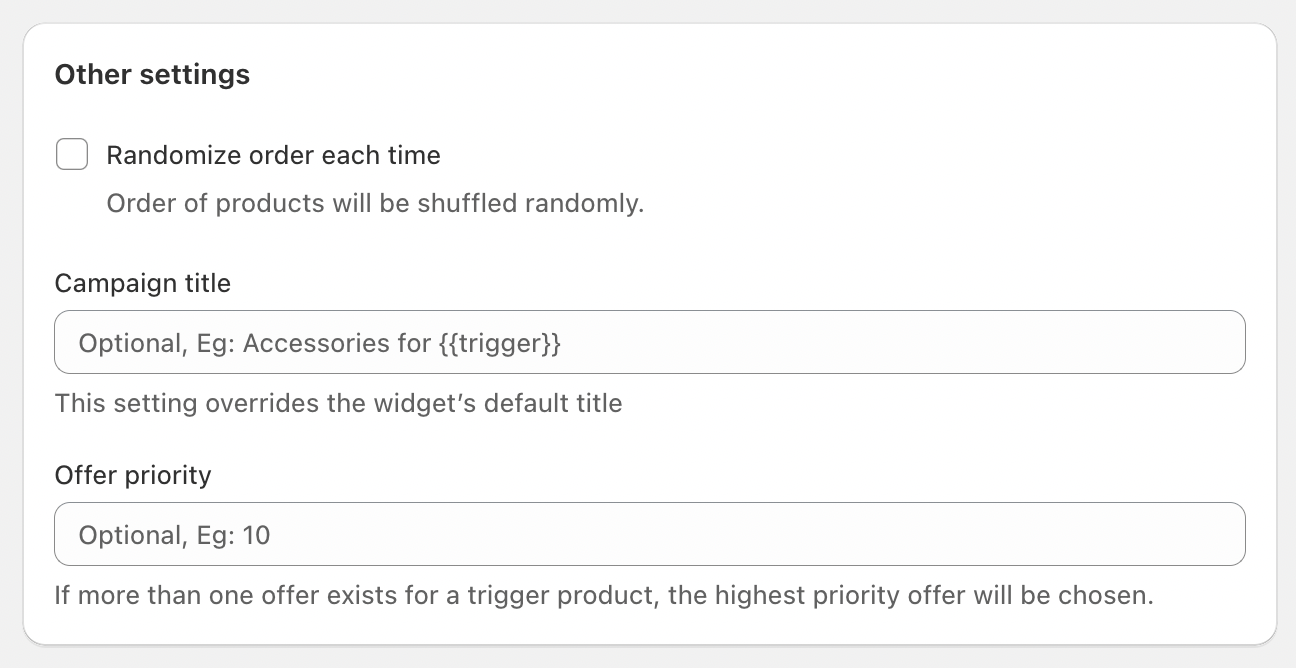
Campaign priority
If a trigger product has multiple add-on campaigns, you can set a priority value to decide which campaign is shown. A higher number means a higher priority.
Example
- Campaign 1: Applies to all Sneakers with the tag "Sneakers" (Priority: 1).
- Campaign 2: Applies to the specific “Jet black sneakers” that also has the "Sneakers" tag but has a different set of offer products (Priority: 2).
In this case, if a customer visits the “Jet black sneakers” product page, Campaign 2 will be shown because it has the highest priority. If they visit any other sneakers product page, Campaign 1 will be displayed.
Step 5: Adding the app block to the theme

How to Display Product Add-ons Grid on Your Store (for 2.0 Themes)
After you create and save your Product Add-ons campaign in the BoostUp app, you need to add the widget to your product page template manually.
-
From your Shopify Admin, navigate to Online Store > Themes.
-
Find your active theme and click the Edit theme button.
-
At the top of the screen, use the dropdown menu to open the Products > your desired product template.
-
In the left sidebar, under the "Product information" section, click + Add block.
-
Look for the "Apps" section and select the Add-ons Grid block.
-
Use the drag handles to move the block to your preferred location. We recommend placing it above the 'Add to cart' button.
-
Click the Save button in the top right corner.
Now, you can visit a product page that you've assigned add-ons to and see the widget live on your store.
For Older Themes (non-2.0)
If your theme does not support app blocks, the setup requires editing your theme's code. This is a technical process. We highly recommend contacting our support team for free setup assistance, and we will gladly install it for you.
Step 6: Customize the Widget
-
From your app's dashboard, click on the Customize option.
-
Find the "Product Add-ons (Grid)" card and click the Edit Widget button.
-
A new settings page will load. You will see a series of accordion tabs (e.g., "Title," "Price," "Borders," etc.).
-
Click on any accordion tab to expand it and view the specific settings for that part of the widget.
-
Adjust the options to match your store's branding. You can customize settings such as:
-
Title Color
-
Price Color
-
Border Width
-
Border Radius
-
...and other available style options.
-
-
After you have finished making all your changes, click the Save Settings button to make your new design live.

If you encounter any issues, please check our troubleshooting guide or reach out to our support team.
